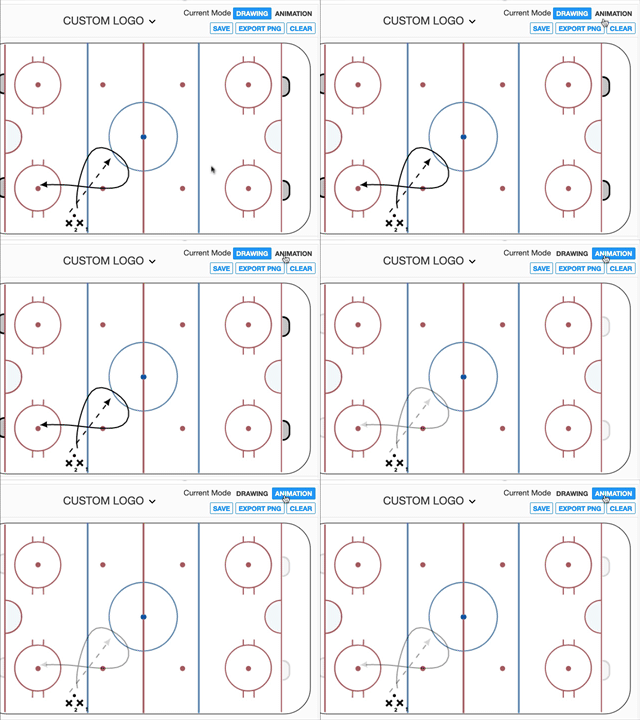
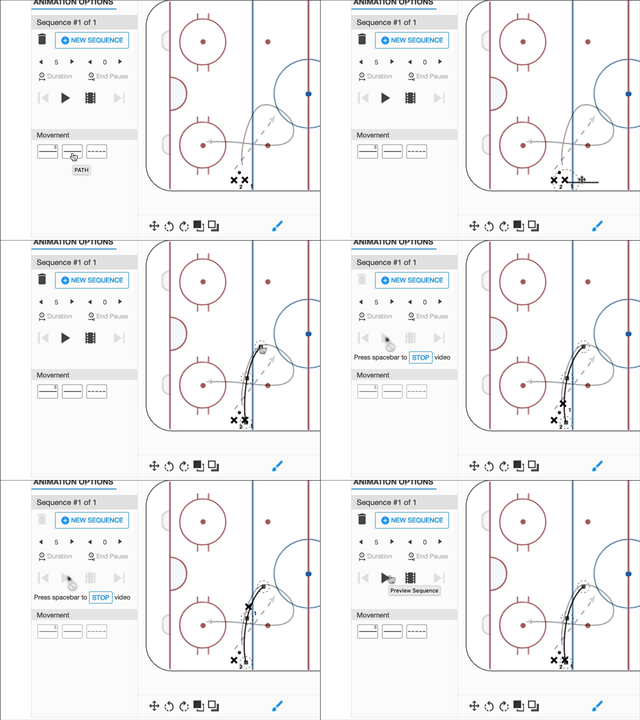
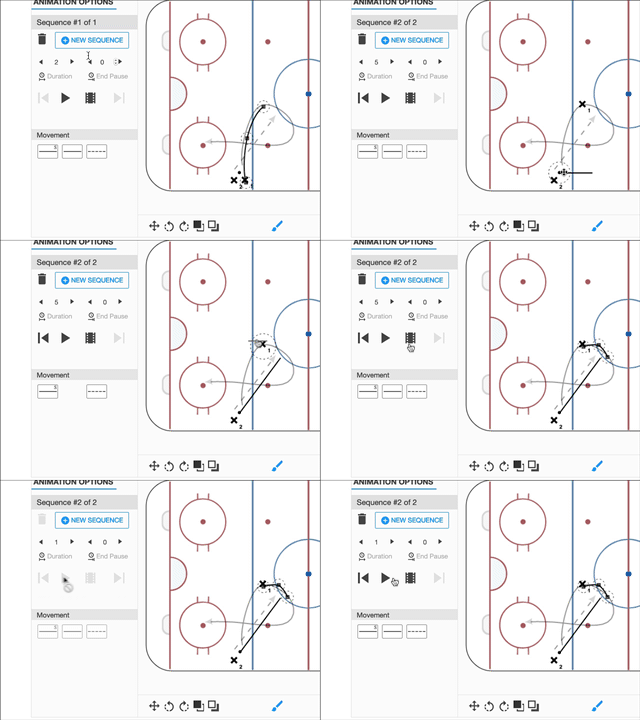
We’re here to help you get started with animations quickly – here’s a walk-through video. Below the video you’ll find a step-by-step outline of how to get started.
To create an animation, add all the objects to the surface that will be necessary for your final animation. Once you have your drill diagrammed, switch to Animation mode in the diagrammer using the Animation option in the upper-right corner.

Animations are created by attaching movement lines to objects on the surface. The “Duration” value is the number of seconds it takes for the object to reach the end of the movement line. Increase the duration to slow the object movement down, decrease the duration to speed the object up. Note that all objects will reach the end of attached movement paths at the same time. The “End Pause” is the amount of time (seconds) the animation will pause on the last frame of the sequence before moving to the next sequence.

Clicking the “New Sequence” button will allow you to create the next phase of the animation. This is useful if you need to animate a pass or delay the start of another player. Animations can have as many sequences as necessary.

Here is an example of a complete animation being created.
